The latest in sanding systems
 Let’s face it: When you’re eager to lay down that first coat of primer or paint, cleaning up dust from drywall or sanding isn’t anybody’s idea of a party. The good news is that sanding systems—which incorporate a vacuum with a hand or motorized sander—continue to become easier to use and more flexible, and manufacturers continue to add options every year.
The obvious reason for investing in a dust-extraction system is that you’ll spend less time and energy on cleanup from surface prep. The immediate benefit comes down to dollars and cents. “If you can save one hour a day of cleanup, that turns into an entire month of time over the course of a year,” says Johannes Frick, head of business development/paint, at Festool USA.
“As a contractor, think about how many more jobs you could do, how much more profit you could make, or how much more time you could spend with your family.”
The next factor is client satisfaction. “Once drywall dust is in the air, it’s on everything: light fixtures, light bulbs, switch plates, and the walls themselves,” says Corey Talbot, VP of marketing and product development at Hyde Tools, Inc. “Keeping your worksite clean is part of fulfilling the customer’s expectation of what the site’s going to look like—and you definitely don’t want a customer calling you to come back and clean up. That costs you time and money.”
Finally, striving for a dust-free environment is safer for you, your workers, and your customers —particularly important since OSHA will be implementing its new respirable crystalline silica standard for construction in September 2017 (osha.gov/silica). Beyond government regulations, many are simply concerned about the long-term hazards of dust in the air, whether your customer is a homeowner, owner of an office building, a retail business, or a health care organization.
CHOOSE THE RIGHT SYSTEM FOR THE JOB
It’s impossible to have one sander that excels at every task. Some are designed for specific applications, while others can handle multiple applications. Here are some considerations for choosing the right tool for the job:
Assess the space and application. A wide variety of factors come into play when deciding the right sander for the job. Are you stripping down to bare wood, sanding between coats, or working on inside corners? If you’re working overhead, you don’t want to use a sander that’s heavy enough to make you unstable on a ladder or send you to the chiropractor. It’s also important to use the right size tool for the task. “You need to ask yourself what’s the biggest sander you can use effectively,” says Frick. “On an uneven deck with 5″ boards, using a 6″ sander isn’t going to work very well. On the other hand, if you have a doorframe and try to use a 6″ sander, you’re not using it effectively and wasting a lot of the surface. Plus, since the pad isn’t fully in contact with the surface, you will create more dust.”
The vacuum end of the equation. The top standard for filtration is a fully certified HEPA dust extractor, so that’s a must for the cleanest possible system—particularly when working with lead paints. Each manufacturer recommends different vacuum settings, so you’ll want to adhere to their specifications.
For example, Kent Annis, owner of Full Circle International, Inc. recommends a 12-gallon vacuum with six to eight horsepower and airflow above 100 cubic feet per minute for their Radius 360° Air and FlexAir tools. Festool’s most portable mobile dust extractors, the CT MINI and CT MIDI, run at 130 cubic feet per minute. In addition, you’ll want to choose a system that allows you to regulate the airflow on the hose from the sander end of the system, not just the vacuum unit. If the airflow is sucking the tool to the surface, the friction will increase the amount of work you have to do as well as the odds of making swirl marks.
Use a negative-air machine or scrubber. Even with a sanding system that’s 99% effective, some residual particles remain in the air and will eventually contaminate the environment. Scrubbers aren’t cheap, but if you do a lot of sanding, it may make sense to own one, or to rent one for a big job.
Remember total cost of ownership. Sanding systems can be a significant investment, particularly at the higher end. But if you’re buying cheap sanders and going through a few of them a year, that can really add up.
A better tool is going to be more efficient, more durable, and carry a better warranty—all of which saves you time and money. So, you owe it to yourself to run the numbers and see if a more expensive sander might end up boosting your profitability over the long haul.
IN THE MARKET FOR A SANDING SYSTEM? START HERE.
Here’s a quick spin around some of the most popular sanding tools that painting professionals can use as part of a dust-free system:
FESTOOL offers more than a dozen sanders in its lineup, with the unique aspect that all of them integrate with the company’s series of proprietary mobile dust extractors. One of the advantages of the integrated system is that turning on the sander also powers up the extractor system, saving time and energy climbing up and down a ladder, as well as decreasing run time. Among the most popular tools for paint contractors are the company’s Rotex multimode sanders, which come in a variety of sizes and power levels appropriate for anything from heavy removal and stripping to finish sanding. “The 3.5″ Rotex RO 90 Multi-Purpose Sander is really versatile, since you also have triangle attachments for details, tight or inside corners, and around windows,” says Frick. “The ETS EC125/3 5″ Random Orbit Sander is a great tool for painters because it has a low profile that gets you close to the surface, but it’s also economical, easy to use overhead, and can be used at different angles.”
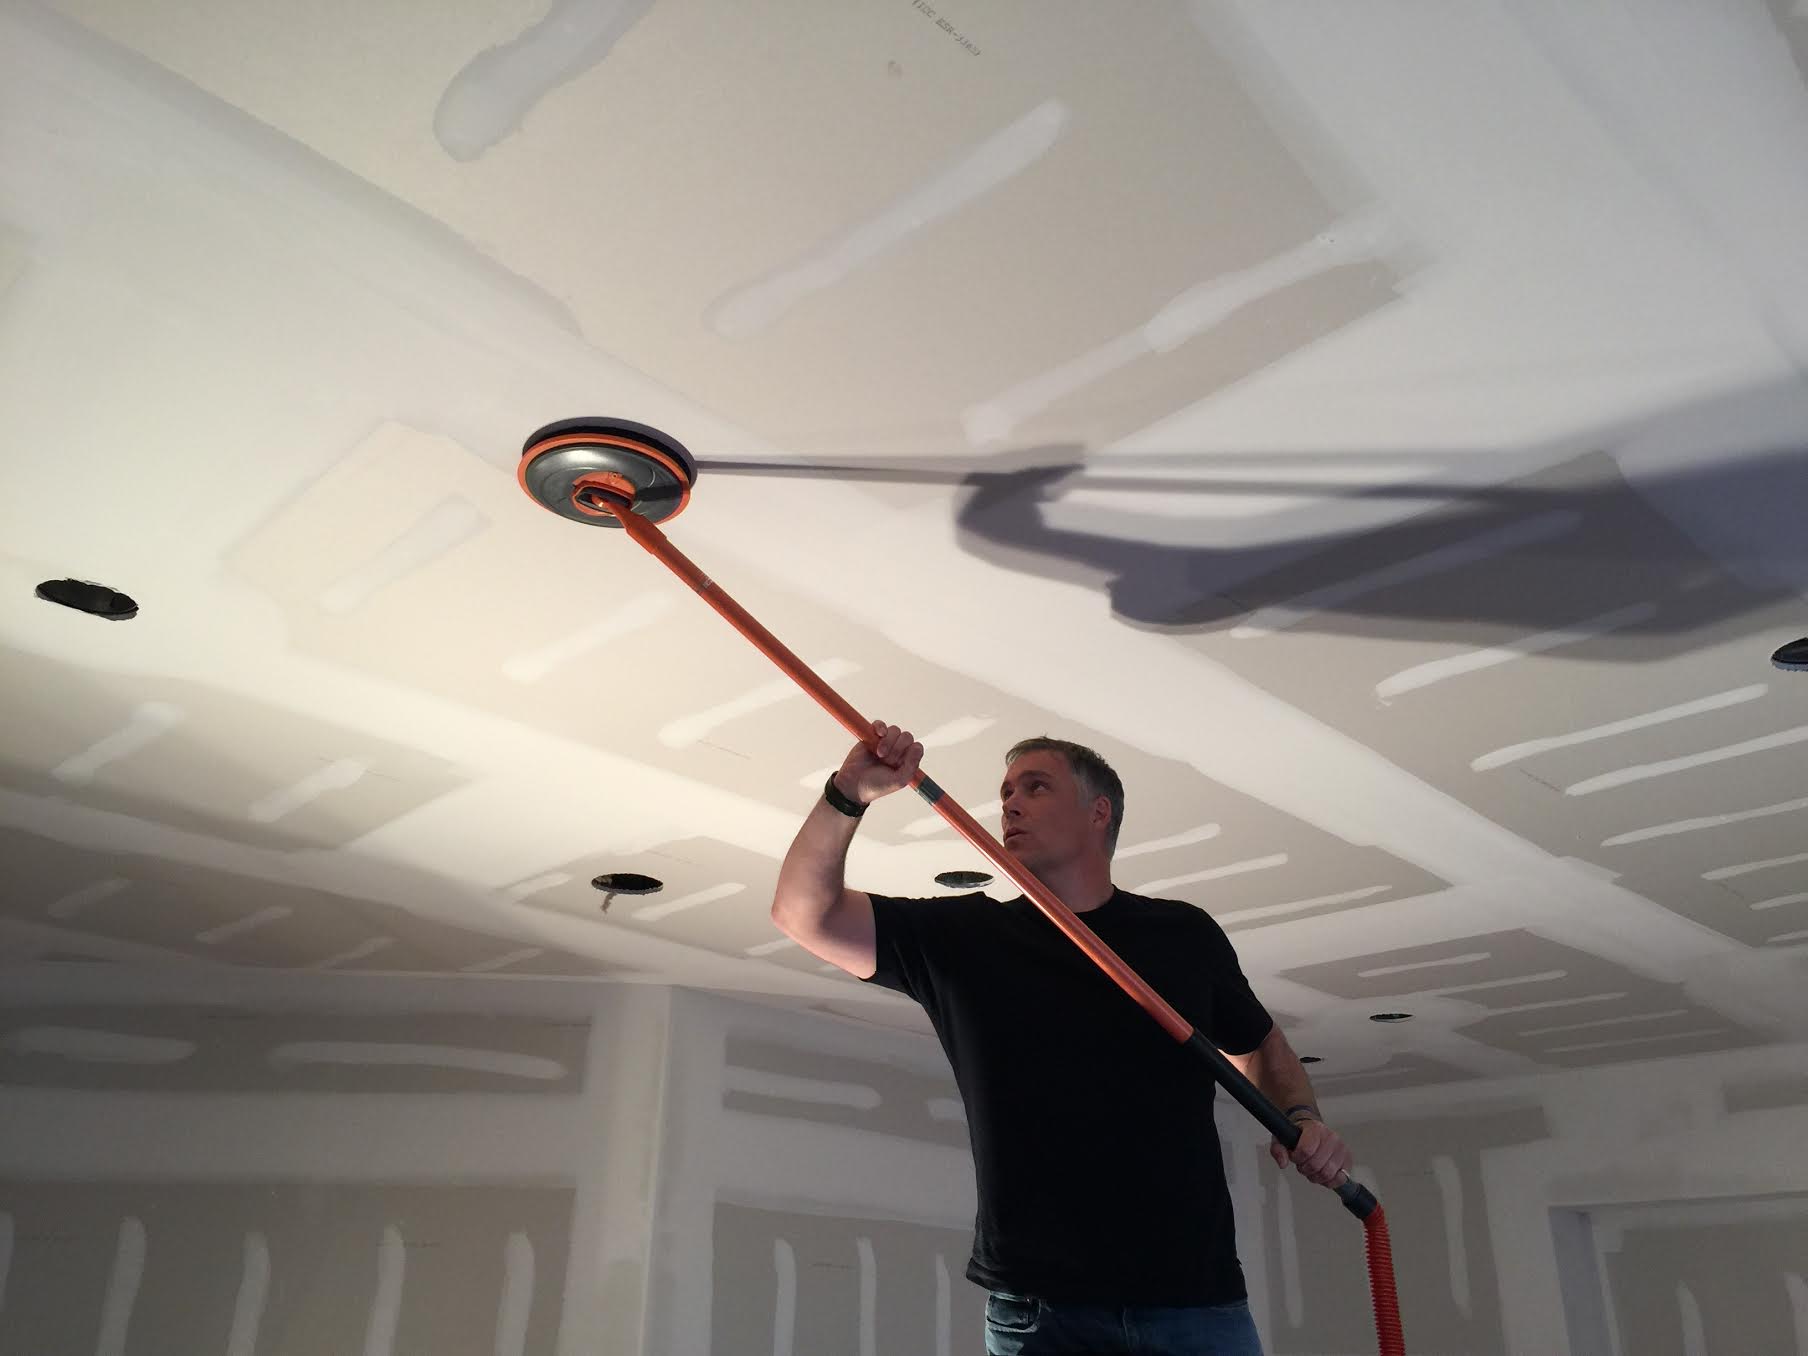
FULL CIRCLE INTERNATIONAL has two sanders that are particularly useful for painting contractors who want to minimize dust: Radius 360° Air and the FlexAir. The company’s patented swivel joint allows for both systems to be used by hand or mounted on a pole with almost any shop vacuum. The Radius 360° Air uses 8.75″ sanding discs and can be used with the company’s new proprietary mesh disc. “We were contractors and we know the headaches drywall and painting contractors deal with,” says Annis. “With the Radius 360° Air, you could sand 2,000 square feet of level-5 skim coat ceiling and basically not get any dust on you.” For inside corners and detail work, the FlexAir is a rectangular sander designed to be used like a foam sanding sponge, using a hook-n-loop rubber and foam pad and proprietary foam abrasive.
HYDE TOOLS, INC. first entered the dust-free sanding market with a basic sander and 4′ hose that could attach to the existing hose on any vacuum. Today, the company offers five different dust-free tools, from a price point of $14 or $15 for a sponge sander up to around $110 for the Professional Dust-Free Pole Sander with an aluminum head and a pole that can be used at 28″ or 8′ lengths. (The two-piece design eliminates the inevitable binding that occurs over time from grit in telescoping poles.) Although most of the company’s products work with mesh sanding screens, the top-of-the-line pole sander uses a new, patented netting material. “With sand screens, a pattern can start to show up if you’re sanding in a direction for several swipes, so you have to use circular motion,” says Talbot. “This product eliminates that problem.” About three years ago, Hyde also added a universal adaptor that fits the three most common vacuum hose sizes—eliminating the need for duct-tape engineering in the field.
DEWALT recently seized the moment to update its 5″ random-orbit variable and non-variable sanders, as well as its quarter-sheet sander. (For heavier and quicker removal, DEWALT offers a 5″ disc sander with a bigger motor and a dust shroud that can be connected to a vacuum.) “We made a lot of improvements over the previous models and they hook up to our 8- and 10-gallon vacuum systems as well to as other manufacturers’ units,” says Cindy Drnec, senior product manager at DEWALT. “The other big change is that we now have HEPA vacuums to connect directly to our sanders—you no longer need an adapter.”
SANDING: YOUR LAST LINE OF DEFENSE
Sanding is inevitable. Although some painters are skilled at applying joint compound, the fact is that even the best will need to break out the sander eventually. “A drywaller isn’t going to come in to do a small 5′ x 8′ patch from water damage,” says Talbot. “Especially if you’re working above your head, it’s hard to get a good finish—you over-apply the mud and then rectify it with sanding. Sanding is your last line of defense, so it’s worth taking the extra time to go to a finer grit, and then look at the surface in different lighting and angles before you’re actually priming and painting.”
Sanding can also eliminate headaches. If a drywall team has scarred the wall with power sanders to take off overspray from ceiling texture, the drywall fibers will be raised by the primer. A quick solution is scuff sanding. “Delegate the task to a rookie if you have to; the final product will show the benefits,” says Annis.
Ultimately, a sanding system is designed to help professional painters to do their jobs more efficiently and professionally. “You want to know the numbers behind the tools, and their application as a craftsman,” says Frick. “In the best-case scenario for a painter, the only thing a customer knows is that the color of the wall has changed.”