4 Power sanding mistakes even pros make
 At first glance, a power sander makes it all look so easy. But whether you’re a pro or a DIYer, this seemingly simple tool can create some problems on the job if used carelessly or with improper technique. Rick Bush, Festool’s director of product marketing, offers four important insights for effectively using a power sander.
“It may be a simple tool in appearance, with the paper, the pad, the motor, the switch and a dust port. But there is more to sanding than just turning on the machine and rubbing it on a surface,” Bush said.
THINK BEYOND THE ORBITAL
Most pros use a random orbit sander and, in most cases, it is seen as the go-to for general sanding. There are also other options, Bush adds. Gear-driven electric sanders, for example, have increased in popularity. They are flexible thanks to their dual-mode capabilities. One mode is gear-driven and aggressive for heavy stripping while the second mode is a random orbital option for general sanding. While it’s not a mistake to only use an orbital sander, Bush says there are other options to explore; and if you find yourself consistently doing one type of sanding, you might do some research to see if there is a better option for you.
WATCH OUT FOR FORCE
Pushing too hard on a sander is a common mistake, Bush said, as the user often thinks the job will progress faster if they apply more pressure. That’s really not the case.
“In reality, as you provide greater pressure, you reduce the rotational or orbital speed of the sander. Each grit of abrasive is a cutting tool. The cutting tool works most effectively when it can run at the intended speed without undue pressure,” he said.
Too much pressure can lead to uneven surface preparation, “causing a low-quality finish and more rework later,” according to Bush.
DON’T SKIP GRITS
No one really likes sanding but skipping grits to rush the project can only lead to poor prep and a compromised finish.
“By skipping grits, the finish will suffer and this will be both a visual as well as a tactile mistake. It’ll not only look bad, but it will feel bad, too. This is also one of the reasons you might see the swirl marks of the sander in a finish,” the expert explained.
CHANGE PAPER AT THE RIGHT TIME
Gauging the life of an abrasive can be tricky. It’s easy to wait too long to replace a paper, as the eventual degradation and smoothing out of the grit surface is an obvious sign that the paper’s finally reached the end of its useful life. This may satisfy cost-conscious pros who don’t like to throw out the paper too soon, but Bush says to watch for ‘loading’ of old paint on the paper to effectively gauge where an abrasive is in its life cycle.
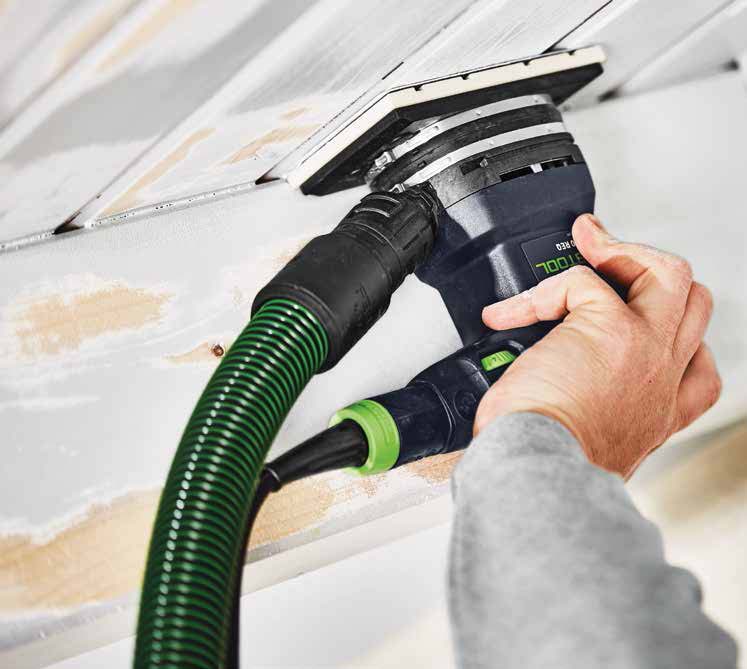
He “strongly recommends using some type of dust extraction,” or a vacuum attached to the sander to help prevent loading. “The benefits are many and include longer abrasive life, more effective sanding of the surface, cleaner air, and a cleaner work environment.”
To learn more about prep and other painting application best practices, visit inpaintmag.com