5 Common interior prep mistakes
 All painting professionals run into the dreaded time crunch, when the number of hours allotted for a job just may not be enough. So, what’s a skipped step here and there, you might ask? Unfortunately, it can mean the difference between a satisfied customer and a callback—especially on interior jobs. Here, Rick Watson, director of product information & technical services for Sherwin-Williams, highlights five deadly interior prep mistakes that can cause headaches for both pros and their customers.
Not cleaning before sanding
If you start sanding before you clean all of the grease, dirt and grime that has built up over time, it will be pushed deeper into the existing finish or the grooves and scratches you just created by sanding.
“Once painted, those contaminants may leach back out through the paint film causing adhesion and peeling issues, blotchiness, and stain bleed through your finish,” Watson said.
Not scuff-sanding before painting or priming
Sanding is great for adhesion and can benefit the look of both primer and the final finish. Scuff-sanding helps you remove debris like paint drips, paint particles, paint brush bristles, paint roller fuzz and directional roller marks, Watson added.
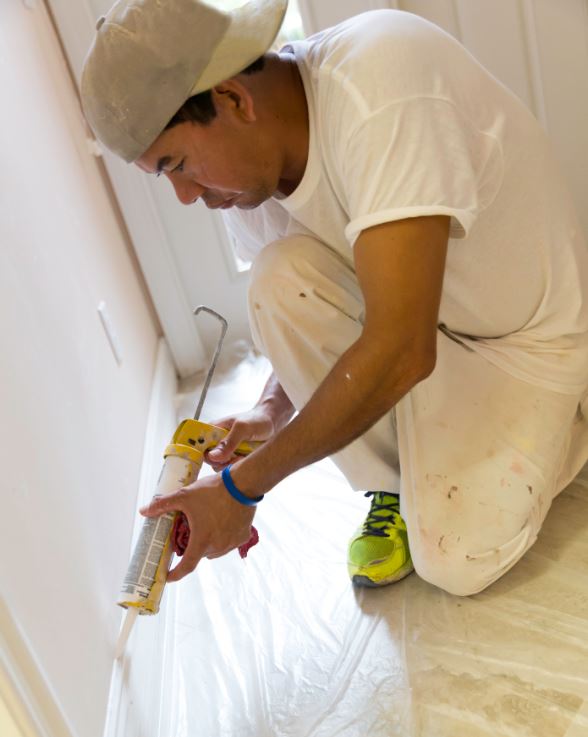
Not caulking
When you don’t caulk around moldings, trim, baseboards and window frames, the job looks unfinished and uneven, and you can look like a novice painter, Watson said.
Not patching small nicks and dings on walls
Having confidence in your paint is great, but it won’t cover up all nicks and dings. This mistake can even be magnified with certain types of paints.
“The darker-colored, high-sheen products will come back to bite you if you skip this step,” Watson added.
Not using a primer when needed
With the standard becoming paint-and-primer-in-one paints, it’s easy to think a paint can do more than it really can, especially if you’ve been working with one that has covered a lot of imperfections for you over the years. However, using a separate primer coat will always outdo even the best paint-primer blend.
“Importantly, many of these ‘paint-and-primer-in-one’ products recommend a second coat (and maybe more) to achieve complete coverage, performance and satisfactory results,” Watson added. As an experiment, he recommends “try applying a gloss or semi-gloss ‘primer and paint in one’ over a porous surface like unprimed spackling, joint compound or wood. Even after three coats, you can’t achieve the quality finish of a premium primer and topcoat. Do it right the first time and get the finest-quality finish your customers demand. The right primer for the job will always be my first recommendation.”
A FINAL WORD
Cut corners is usually the result of time constraints. Watson suggests being proactive during the bidding process to help allocate enough hours for a job.
“I would suggest when painters are bidding projects that they walk, talk and show their customer exactly what their bid is for. Setting expectations up front will bring fewer surprises at the end of the project,” he said.
To read more about prep and other application tips for painting professionals, visit inpaintmag.com